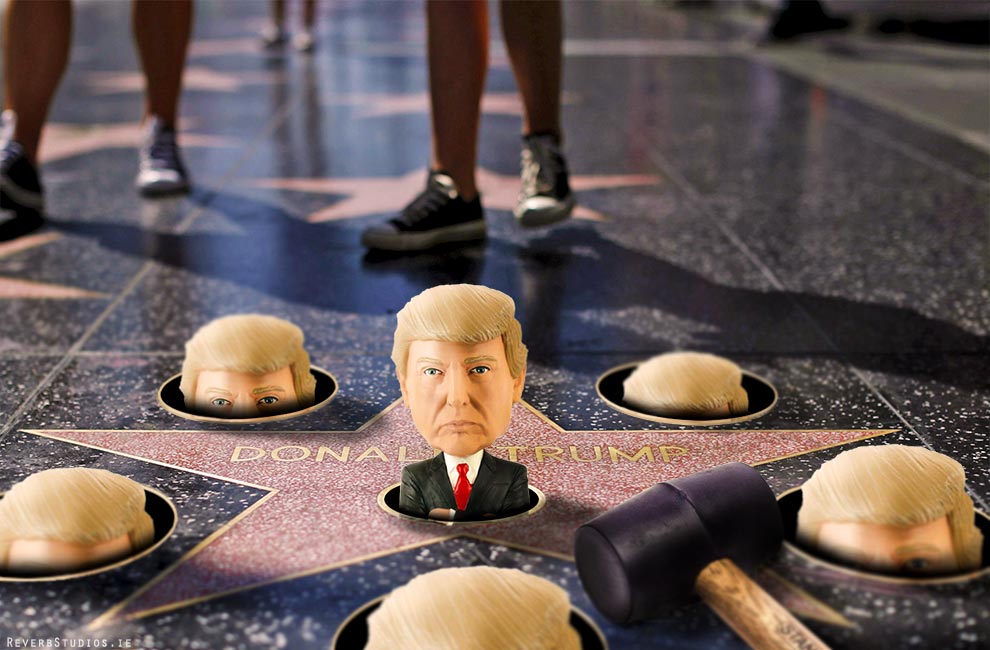
I downloaded images of Trump’s Walk of Fame Star, a Mallet and a Trump figurine to begin with. First thing was to straighten and crop the Walk of Fame base image. I then created a black disc/hole filling the center icon of the star and copied this 5 times using Photoshop’s Vanishing Point feature to correctly align them on the Walk of Fame plane. I then added a gold outer stroke to the holes and brightenend sections of it to match the gold stroke on the star. Next I copied in the mallet and positioned it to match the plane again, adding shadows and adjusting the levels and colours to fit in correctly.
I then copied in the cut out Trump figurine, adjusting the levels to match the lighting in the scene and adding shadows also. I copied the figurine 5 times and positioned in the holes at varying heights, masking out the bottom to give the impression of the figurines being in the holes. I added slight reflections of the figurines in the hole rims too. The original Walk of Fame photo had a slight tilt shift blur so I added this on my added elements to match. Finally, I added some adjustment layers to bring it all together including, Levels, Photo Filter and Vibrance.


